
Painting:
The quality of the paint (oil based) and its application will determine the overall appearance of the finished project. Do not buy inexpensive paint (the higher the quality paint, the better and longer lasting finish you will create), brushes, pads or rollers.
Note: I highly recommend that you purchase the paint and paint applicators from a paint store, not a big box retailer. Discuss the project with a paint expert, at the store, and go with their recommendations for primer, finishing paint and application tools.
- The first painting step is to mask any adjacent objects or walls that are in contact with the tile that is to be painted. Use painters masking tape, as shown in Figure 5. General purpose masking tape has a tendency to lift the paint when it is removed.
- Using a high quality, oil based primer, paint the tile, (it is always wise to have the primer tinted to the finished color as this will eliminate any primer color bleed into the finished coat). Use a brush or pad to cut-in the perimeter of the area being painted.
- Using a high quality, short nap - 1/8" roller, apply the primer to the balance of the area.
- Follow the primer manufacturer's instructions for drying time between coats. Then apply a second coat of primer.
- Remove the masking tape once the second coat is dry. You may have to apply the masking tape again, however if you leave the masking tape on to long, it will remove the primer when you attempt to take it off.
- For the best finished result, use some very fine sandpaper and lightly go over the freshly primed surface. This light sanding is to remove any paint lines or small imperfections in the primer's surface.
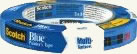
Figure 5 - Painter's masking tape
Masking The Tile:
We will assume that you want the grout to be a different color than the tiles. (If this is not the case, you do not have to follow the steps to mask the tile).
You should now have a solid surface area covered with two coats of primer. The image of the tile and the grout lines should still be quite visible through the paint.
There are two philosophies with respect to the finished painting of the tile.
- Paint the entire area the color of the tile and then mask and paint for the grout lines.
- Mask the individual tiles, paint them and then mask the tiles to paint the grout lines.
For ease, I prefer the first method and will detail out how to proceed using it. However, if you prefer, you can use the second method.
- Mask any adjoining surfaces. Apply the finished paint over the primer using a brush or pad to cut in the edges and a short nap roller for the painting. Use a high quality, oil based, in semi-gloss or gloss for the finish coat. Do not apply the paint "thick". Multiple layers of a thin coat will last longer than a single thick coat.
- If necessary, apply a second and even third coat - following the manufacturer's instructions for drying time between coats.
- Once the tile color is applied and dry you can mask for the grout lines.
- The grout runs in two directions and it is easier to mask for one direction, let the paint dry and then mask for the other direction. This avoids having to mask each individual tile. Take your time when masking the tiles for the grout lines. Any imperfections in the taping will show-up in the finished project.
The use of a laser level, as shown in Figure 6, and/or a carpenter's square, as shown in Figure 7, and/or a "T" square, as shown in Figure 8, will help you to keep the grout lines straight and equally separated.
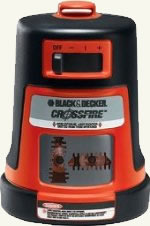
Figure 6 - Laser level
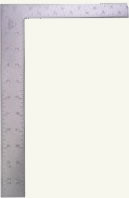
Figure 7 - Carpenters square
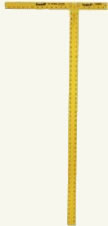
Figure 8 - "T" square
- Again, it may require two or more coats of finished paint to get the color that you desire.