Vinyl siding is a project that is well within the abilities of most home handymen. With some care, the home handyman can finish a project that will look as good as any professional can accomplish.
Note: The following instructions and information should be considered to be a general guideline. Always follow the manufacturer's detailed installation instructions.

Figure 1a - House with vinyl siding
Vinyl siding is considered to be a an exterior cladding. It is not designed to be used as a weather-tight barrier. The siding is designed in such a manner that the material underneath the siding can breath. It provides some protection from the elements, but should not be considered to be the barrier to rain, snow or other inclement climate conditions.
The installation of vinyl siding is accomplished using horizontal or vertical sheets of vinyl that fit into or connect to an assortment of finishing trims and moldings.
Note: Each manufacturer's product will vary somewhat, but each will have a finished trim piece to handle most circumstances.
Before you start your siding project you should understand some basic siding terminology:
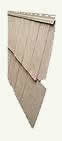
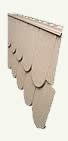
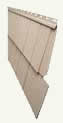
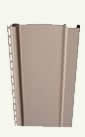
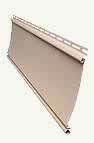
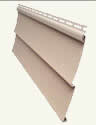
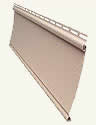
Profiles, Styles & Textures Of Vinyl Siding:
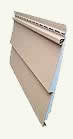
Insulated Straight
Hand Spit Shake
Half Round
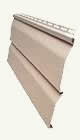
Dutch Lap Smooth
Cedar Perfections
Board Batten
Beaded Smooth

Straight Wood Grain
Straight Smooth
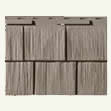
Rough Sawn Cedar Shingle
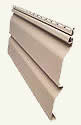
Dutch Lap Wood Grain
Beaded Wood Grain
The manufacturer's will usually have matching fascia and soffit panels. In most cases the fascia material is installed after the siding and soffit panels.
When choosing your soffit you must decide on vented or non-vented. For further information on attic ventilation follow the link.
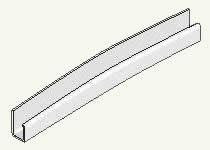
Styles Of Vinyl Siding Moldings & Finishing Trims:

Starter Strip

J-Channel

T-Channel

Finishing Trims

Lineal

F-Channel
Flexible J-Channel
Drip Shield (formed on site from aluminum)
Outside Corner