
Now that you have all the basic dimensions for your staircase you can layout the stringers.
The staircase stringers are the pieces of lumber that provide the support for the stair treads and risers.
For staircases 40" or less in width you will need to make 3 stringers. For staircases from 40" to 60" you will need to make 4 stringers.
Staircase Stringer Layout:
The first thing you will need to calculate is how long the staircase stringers will be so that you can purchase the correct length of lumber. The formula to calculate the length of the staircase stringer is (all numbers are in inches):
G Total Rise2 + Total Run2 = Length of Stringer2
106.752 + 1402 = 30,995
Length of stringer = 176.054 inches or 14' 8"
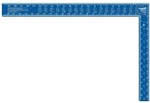
Figure 1a - Framing Square
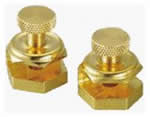
Figure 1b - Stair Gauges
Number the treads as you mark out the stringer as shown in Figure 2.
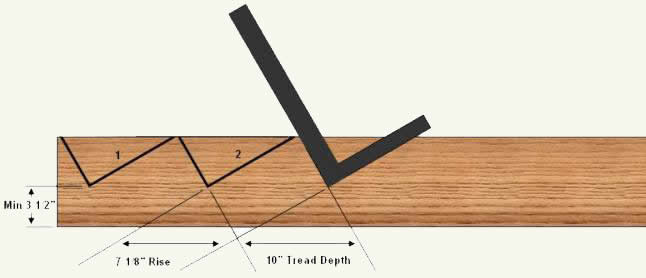
Figure 2 - Marking layout and saw lines for stairs on stringer
When we calculated the staircase riser height we basically ignored the thickness of the tread. As all the treads should be the same thickness all the steps will increase equally, except for the landing. As there is no tread on the landing we must lower the height of the first riser to allow for the difference.
Cut the bottom off the first riser the same thickness as one of the stair treads as shown in Figure 3.
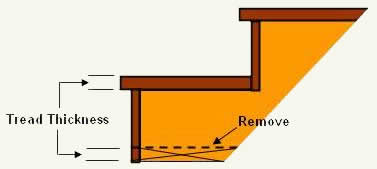
Figure 3 - Removing tread thickness from bottom of stringer
Cut the rest of the stair treads and risers on the stringer using a circular saw to cut to the line and finish with a handsaw. Do not cut past the lines as this will dramatically weaken the stringer.
Place the staircase stringer in the stairwell and ensure that it is a correct fit. The staircase stringer must lie flat on the floor and rest true against the upper floor's framing. Use a level to ensure that the step risers and treads are level.
Use this staircase stringer as the template for the other stringers, ensuring that the crown side is on the edge to be cut.