
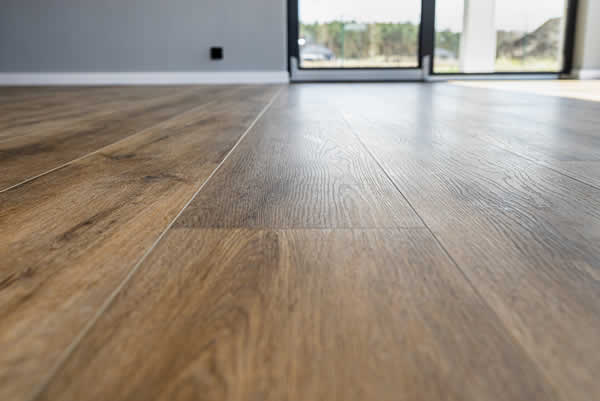
Vinyl flooring is one of the most commonly used floorings by homeowners. It's budget-friendly, durable, resistant, has various designs, and most importantly, it's relatively easy to install.
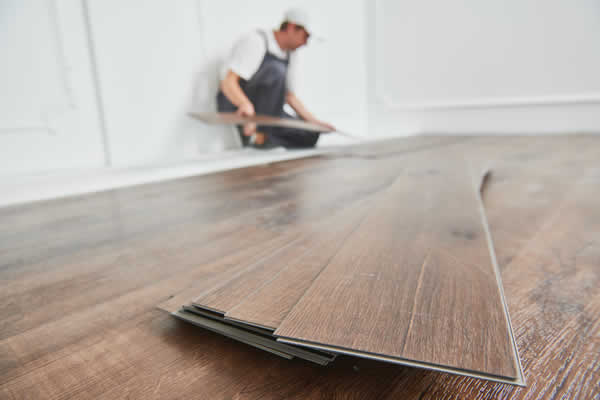
Nevertheless, vinyl floor installation remains a daunting task and isn’t for the faint of heart, even if you're using a material that's easy to deal with. For one, you have to know the measurements of every nook and cranny of your house for accurate installation. Moreover, you have to test out the flooring you choose to ensure it fits perfectly in your home. But most importantly, you must cut the vinyl planks to fill in all the gaps on the floor accurately.
If this is your first time dealing with vinyl, you're bound to struggle, particularly with the cutting part. For that reason, this guide will discuss five simple steps on how to cut vinyl flooring.
- Prepare The Equipment
- Before anything else, you must first prepare the necessary equipment to pull this off. Fortunately, you don't have to prepare a lot of tools. Here are the things you'll need for vinyl cutting:
- Get A Straight Edge
- Vinyl might be easy to work with, but that may very well be a downside. After all, if that’s the case, sharp tools can easily pass through the material and reach your skin, resulting in an injury. For that reason, it's advisable to get a tool with an indention as it can go a long way in preventing injuries.
- Tape Measure
- As stated earlier, measuring would take a considerable portion of your time when cutting vinyl. So, naturally, you'd want to have a tape measure to help speed up the process.
- Calculator
- Measurements and calculations go hand in hand. If you can't be bothered to make the computations yourself, a calculator would undoubtedly come in handy when cutting vinyl.
- Pencil
- You'll need to mark the guidelines on the vinyl plank after measuring, so you'll need a pencil to do the marking.
- Tape
- Vinyl is similar to laminate flooring, so you'll need an underlay to hold the planks together. And anyone who deals with flooring knows that tape is necessary to secure the underlay.
- Vacuum Cleaner Or Broom
- Once you're done with cutting, you'll find that there are tons of leftovers of the vinyl planks scattered throughout. Make sure you have the necessary tool to deal with cleaning.
- Typically, when installing floors, you'll need a lot of other equipment. But since you're dealing with vinyl, which is known for being easy to install, these tools should be enough.
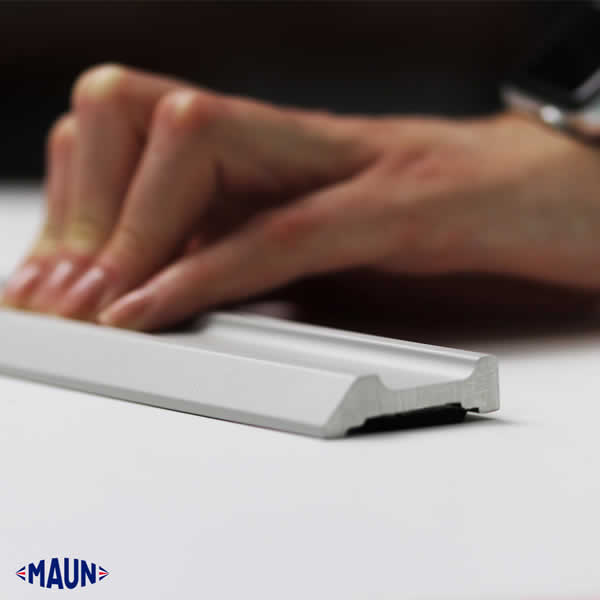
"Maun Straight Edge Tool"
- Take The Necessary Measurements
- You have to measure the dimensions of the room or house, so you know just how many vinyl planks you should purchase from your local store. To do this, you simply need to take the length and width of a room using a tape measure. Since you’d need to take the measurement of the entire room, a metal self-retracting tape measure would be the ideal tool.
- Apart from measuring the room, you also need to measure the vinyl planks before you make the necessary cuts. In this case, a foldable ruler would be the most logical option. The ruler snaps into place, so it should be more manageable to draw straight guidelines.
- Finally, you need to calculate and make 90-degree cuts on the vinyl plank to fill in the gaps of each corner of the room. A framing square would be the perfect tool for this type of measurement.
- Mark The Sections You Need To Cut
- Every time you take measurements, you must also make the necessary markings with a pencil. The markings of a regular pencil won't do, so you'll need either a grease marker or a carpentry pencil. In the case of dark planks, the markings of a carpentry pencil might not be visible, so white chalk might be a better option. Markings will help you make accurate cuts on the planks.
- Since you'll need to take the measurements twice, these markings will also prove to be quite helpful to determine whether you've made a mistake in your previous attempts.
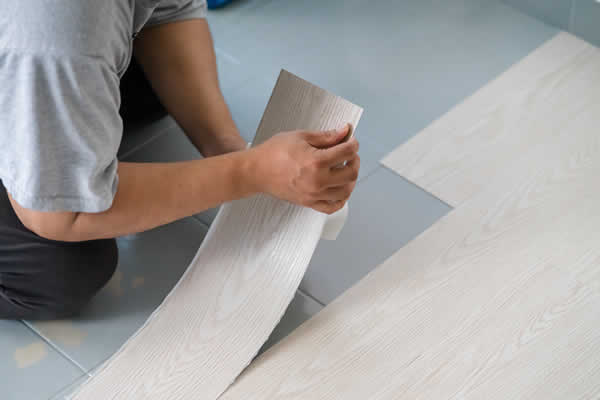
- Cut The Vinyl Floor According To The Guidelines
- Now that there are guidelines to follow, you're finally ready to cut the vinyl floor. While cutting, it's advisable to keep them in place by placing one of your knees. But that only applies if you plan on cutting the planks on the floor. If you intend to cut them after placing the vinyl plank on the table, you can use clamps to hold them in place instead. Either way, this is a necessary step since an unstable plank will only lead to inaccurate cuts.
- If you're not confident in cutting vinyl planks straightly, you can use the framing square you used for taking measurements earlier. Place the framing square on top of the plank, hold it in place using the fingers in one of your hands, then cut the vinyl plank along the edge of the framing square.
- Snap The Excess Vinyl From The Main Part
- Once you've made the necessary cut, you shouldn't expect the vinyl to cut in half immediately after. Unless you're using a saw or a jigsaw, you have to split the vinyl plank manually. To do so, you must first flip over the vinyl plank. Once that's done, place your knee on the plank or use a clamp to hold it in place. Finally, grab the excess vinyl and pull it towards you. This should snap it off in place, and you've now successfully cut the vinyl floor.
Wrapping Up
You must remember to wear safety equipment when cutting the vinyl floor. Things such as gloves and goggles would be pretty handy as they'll prevent you from cutting your hands, and your eyes will also be safe from small bits of vinyl that may snap off while you're cutting. Also, it's worth noting that there are other techniques for cutting vinyl. This is simply the most basic method and is advisable for amateurs or beginners.