
A faux marble finish is rich and luxurious. But, it has other advantages, it hides flaws, blemishes and cracks. With some creativity you can turn almost any surface into a marble like appearance.
Turn This Plaster

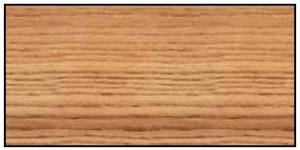
Or This Wood
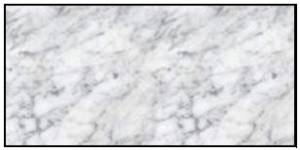
Into This Marble Look Alike
Marble comes in a vast assortment of colors and veining, as it is a natural product no two pieces are identical. However to get a feel for a marble appearance it is wise to spend some time visiting marble stores and if possible taking home some samples.
- Determine the base color of the marble appearance that you wish to create. Purchase enough base coat in a satin latex paint to do the entire project - you will be painting two coats of the satin base. Follow the manufacturers instructions with respect to the drying time between applying the second coat of paint. Usually 6 hours is sufficient.
- You want your faux marble finish to look like the real thing and to do this you will need to choose two paint colors that have a common tone for the marble faux finish.
- Dip a clean moist sponge into the glaze mix that you created in step 2 and apply the glaze over the base coat of paint (step 1).
- Create a glaze as described in step 2 using the second color that you have chosen.
- Once the glaze is completely dry you can add the veins that appear in all marble stone, as shown in Figure 4.
- Although not a mandatory part of the faux finish, it is wise to apply a coat of polyurethane over the finished glazed and veined surface. The polyurethane will provide the luster associated with polished marble and help to protect the surface from scratches, marring and UV rays.
Allow the second coat to dry overnight before continuing with the faux marble finish.
As shown in Figure 1, the paint manufacturers' color charts identify common tones. The colors on each card represent a group of common tones - colors that are proven to work and blend well together.

Figure 1 - Paint color charts
Mix equal amounts of one of the chosen paint colors, water and and glaze (not tinted) in a bowl. By combining the paint and glaze with water you create a finish that has depth and is somewhat transparent. The quantities are not critical and you do not have to mix enough for the entire project at one time.
Note: Although craft and hobby stores sell "special purpose sponges for faux paint application", they are really not necessary. A quality soft sponge, as shown in Figure 2, will work just as well.

Figure 2 - Sea sponge
With a gentle, twisting motion of your arm and wrist, allow the sponge to almost float over the surface, thus creating a random covering.
The glaze mix should not be smooth, but should create a grain on the surface with the base coat showing through the translucent glaze mix.
While the glaze is still wet use a softening brush, as shown in Figure 3, (made of hog or badger hair) to smooth over the glaze as if you were lightly dusting the surface of the material. This should smooth out any defining lines between the glaze mix and the base coat.
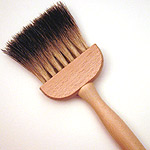
Figure 3 - Badger hair softening brush
Follow step 3, with the second glaze.
As both glaze coats are translucent you should still be able to identify the base coat through both layers of glaze mix colors. There should be no hard lines or definition between the edges of each glaze mix coat.
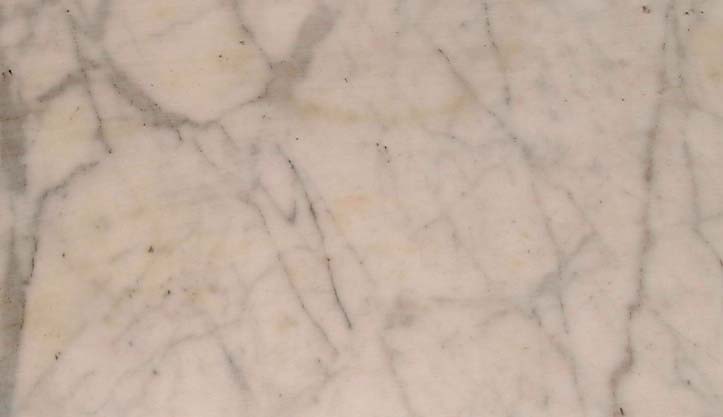
Figure 4 - Slab of marble showing veins
Take a look at the marble samples that you managed to obtain. Note the vein structure, they are completely random and of a variety of thicknesses and colors. To create a marble look it is necessary to recreate these veins.
Using an artists paint brush, as shown in Figure 5, and a third appropriate color from your color chart, paint on the veins over the marble. Use varying pressures and motions on the tip of the brush. Remember there is no right or wrong veining appearance.
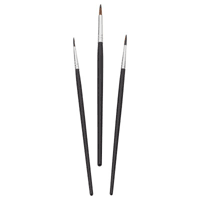
Figure 5 - Artist paint brushes
Remove any definition marks in the veins by using the softening brush.
Make sure that the glaze and veining paints are completely drybefore applying the polyurethane and make sure that you purchase a polyurethane that is compatible with the paint that you chose for your base, glazes and veining.