
Hardwood flooring provides the unique feature that you can use your creativity to produce unique designs and patterns. Coupled with that is the ability to add borders, as shown in Figure 1, and medallions, which highlight the finished floor.
This article will concentrate on the installation of hardwood borders.
Additional information on installing hardwood flooring medallions.
Additional information on hardwood flooring designs and patterns.
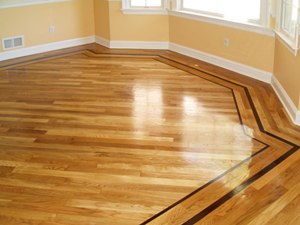
Figure 1 - Double border on hardwood floor
Probably the most common and easiest method of producing a border on a hardwood floor is to use a 2 1/4″ board of a different color. The board can be the same or a different species of lumber.
If you desire to see what the floor will look like using different styles of hardwood flooring borders, you may wish to consider using one of the many 3D home design software packages that are available. They are quite easy to use and will show you what the floor will look like after completion, but prior to investing any money.
More complex borders are made of veneers that have intricate patterns, samples are shown in Figure 2, 3 and 4.
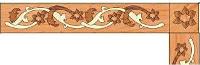
Figure 2 - Veneer border style 1
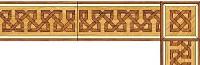
Figure 3 - Veneer border style 2

Figure 4 - Veneer border style 3
Proper installation of the border requires the use of hardwood splines where board grooves end up butting against one another, as shown in Figure 5. If splines are not used it will be difficult to maintain a uniform height and the floor will most likely squeak and creak as people walk on it and the edges of the boards move up and down against each other.

Figure 5 - Hardwood flooring spline installed in board grooves
In order to create a quality installation of a hardwood floor with a border it will be necessary to use a radial arm or table saw saw or a miter saw, as shown in Figure 7, equipped with a carbide tipped blade, minimum 40 teeth, a router, as shown in Figure 8, with a carbide tipped slot cutter bit and a circular saw, Figure 9, with a carbide tipped blade, minimum 40 teeth.

Figure 7 - Miter saw
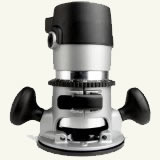
Figure 8 - Router
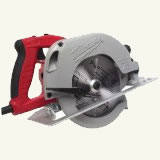
Figure 9 - Circular saw
Note: In order to cut hardwood without burning it, with a router or saw, it is necessary to use carbide tipped blades and bits.
Hardwood Border installation:
It is recommended that the hardwood border be installed before the hardwood floor is laid.