
- Once the area is clear of electrical and/or plumbing you can proceed to cut the studs and opposite side drywall.
- You now have an opening. The next step is to insert the 2 x 4 frame, see Figure 9. I find it best to pre build the frame and place it into position. The construction of the frame is dependent upon how close the remaining wall studs are to the edge of the drywall, see Figure 10. If the edge of either stud is farther than 6 inches from the edge of the drywall it is wise to add a second stud at the end of the frame to provide support for the exposed drywall, as shown in Figure 11.
- Install drywall over the edges of the 2 x 4 on both sides, tape and mudd the joints, as shown in Figure 12.
The best way to do this is with a reciprocating saw (Sawzall) with a 6 inch blade (Figure 7), a circular saw with a cut depth of 2 1/2 inches (Figure 8) (cutting from both sides) or a hand saw. Cut the bottom of the studs first, then the top. This will help to prevent the saw from binding.
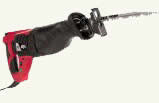
Figure 7 - Reciprocating saw

Figure 8 - Circular saw
Take your time when cutting the studs. It is very important that the 2 x 4 studs are cut perfectly level and horizontal.
Remove all debris from the rooms.
Note: You do not require a lot of 2 X 4 lumber. Purchase quality, construction grade 2 X 4s, checking to make sure that they are not twisted or bowed. It will make your installation a lot easier.

Figure 9 - 2 X 4 frame inserted in kitchen pass through opening
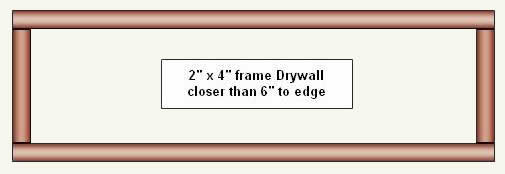
Figure 10 - Pass through frame if drywall is closer than 6 inches
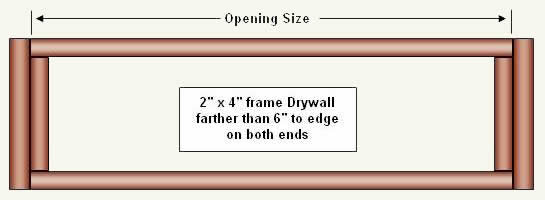
Figure 11 - Pass through frame if drywall is farther than 6 inches on both ends
Use 3 1/2 inch common or spiral nails to fasten through the frame and into each of the 2 X 4 studs on the top and bottom.
An electric nail gun or pneumatic nail gun does an excellent job in this situation.
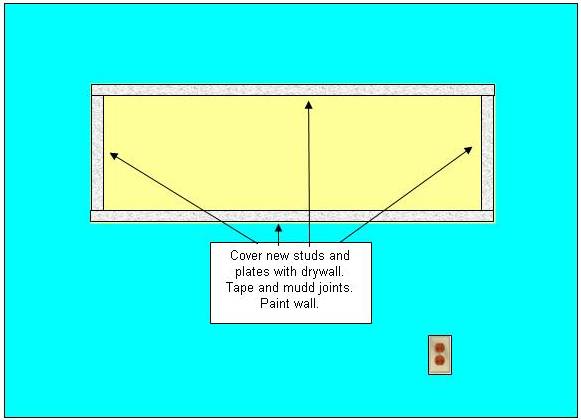
Figure 12 - Cover new studs and plates with drywall, apply tape and mudd the joints
Note: If the outside trim that you are using is wider than 1 5/8 inches it is not necessary to tape and mudd the joints as the trim will hide the joint. However, to keep the trim level it is important to use the drywall or a piece of lumber that is 5/8 inch on the edge.
This is a good time to paint if you are using a natural or stained wood trim and face boards to cover the opening. If the face boards are to be painted, then the entire pass through can be painted at the same time.