
Curved walls, as shown in Figure 1a, can add greatly to the style of a room. But, many home handyman shy away from building a curved wall because of the added complexity in framing. With a little patience and knowledge you can create a curved all to accent any room in your home.
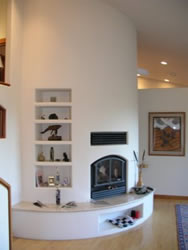
Figure 1a - Curved wall in house
The most complex part of framing a curved wall is the creation of a lower and two upper plates for the framing, see Figure 1.
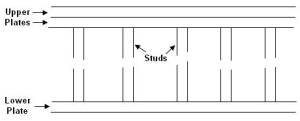
Figure 1 - Framing for a straight stud wall
With a curved wall the studs basically remain the same as in a straight wall. However, the upper and lower plates must relate the curve of the wall to be constructed as shown in Figure 2.
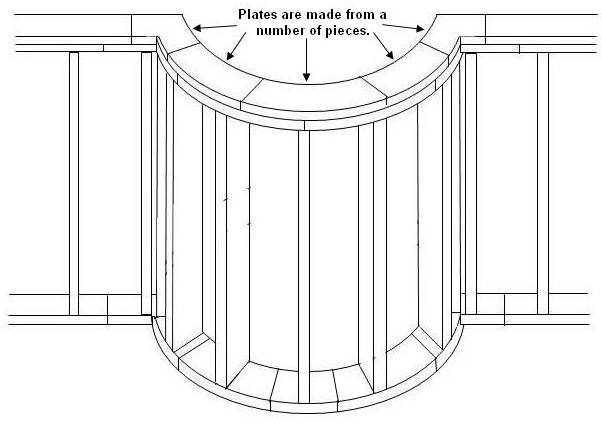
Figure 2 - Framing the upper and lower plates for a curved stud wall
The most efficient and easiest method of creating the plates for a curved wall is to create a template of the curve made out of a piece of 1/4 inch plywood as shown in Figure 3.
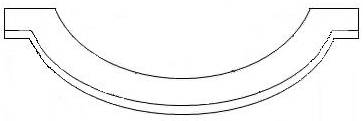
Figure 3 - Template for upper and lower plates made from 1/4 inch plywood
Place the template on the floor or large work bench and cover the template curve using pieces of 2 × 6, 2 × 8, and 2 × 10 lumber as shown in Figure 4.
Utilizing as much of each piece of lumber as possible. Make sure to include at least 4 inches of length of the adjoining straight stud walls that meet the curved wall.
Glue the edges of the lumber, that cover the template, use a high quality wood glue and add a 1 × 2 to hold the boards in place while the glue dries.
If you have a biscuit joiner, using biscuits to join the lumber together would add strength to the glue joint, as would the use of hardwood dowels.
Once the entire template is covered clamp the boards and allow the glue to set overnight.
You will need to make three assemblies, one for the lower sill plate and two for the upper plates. One plate assembly should have the joints in a different location so that the joints do not overlap on the two upper plates.
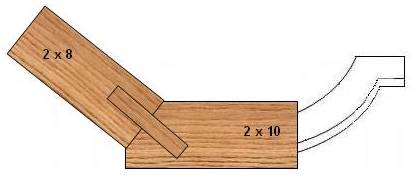
Figure 4 - Various width boards covering template
Once the glue has set on the assemblies, trace the outline of the pattern onto the lumber and using a band saw, saber saw or jigsaw cut the lumber to the outline. If the 1 × 2 board that you used to hold the lumber together does not interfere with the position of the studs, joists or rafters you can leave it in place.
Additional information on how to apply drywall on a curved wall.