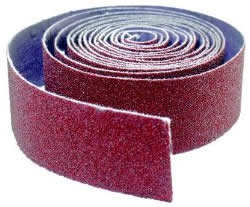
Figure 1 - Emery cloth
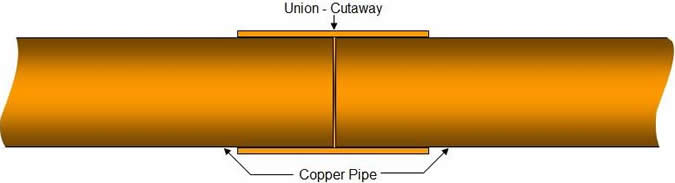
Mistake 1:
Copper pipe and copper or brass fittings must be clean in order for the solder to bond them together. Copper pipe must have its outer surface cleaned with emery cloth until it has a bright finish. Fittings should be cleaned using emery cloth, as shown in Figure 1, on the inside surfaces where the pipe and fitting will marry.
Do not touch the cleaned copper pipe or fittings with your hands or fingers. The natural acids that are on our hands and fingers can prevent the flux from flowing properly and hence the solder from properly bonding the pipe and fitting together.
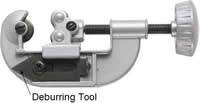
Figure 2 - Pipe cutter with deburring tool
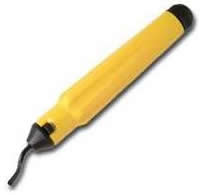
Figure 3 - Deburring tool
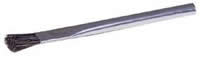
Figure 4 - Flux brush
Mistake 2:
Debur the inside of the end of the copper pipe to be solder using a pipe deburring tool. In many cases the manufacturers of the pipe cutters include a deburring tool as part of the pipe cutter assembly, as shown in Figure 2. If not you can purchase a separate deburring tool, as shown in Figure 3.
Mistake 3:
Apply a thin layer of flux to the outside end of the copper pipe and the inside of the copper or brass pipe fitting. Do not try to solder copper pipes and their appropriate fittings together without the use of the proper flux.
Do not use your finger to apply the flux as the natural acids on our fingers will have a chemical reaction with the flux causing it not to do its job. Use a flux brush as shown in Figure 4.
Do not apply to much flux. Flux is an acid and if there is too much flux it could allow the joint to leak at a later date.
Note: Flux because it is an acid can be harmful if it accidentally gets into your eyes or if it is ingested. Always protect your eyes with safety goggles.
Mistake 4:
The copper pipe must seat itself fully into the mating end of the fitting. Figure 5 shows an incorrect mating of a copper pipe as it is not inserted fully into the fitting. Figure 6 shows the correct method of insertion of the copper pipe into its fitting.
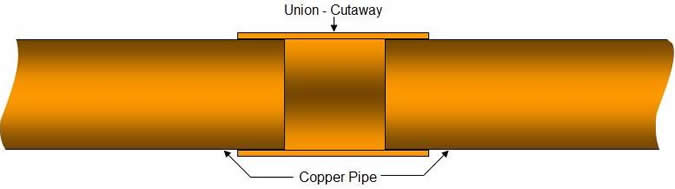
Figure 5 - Incorrect insertion of copper pipe in fitting