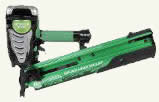
Figure 1a - Pneumatic framing nail gun
It should be noted that if you are planning on building a number of wood stud walls, you should consider the purchase of a pneumatic framing nail gun, as shown in Figure 1a. Besides the fact that driving in 3 1/2 inch or 4 inch nails with a hammer is a very slow process, using a powered nail gun will save your arm muscles from serious strain.
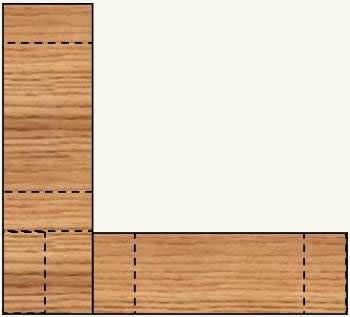
Most construction books will tell you that the wall should be built with studs on 16 inch centers, as shown in Figure 1, and although that is true, it is not quite as simple as measuring and making a mark every 16 inches.
Sheathing materials such as drywall and plywood require fastening on their edges, If you constructed all the stud walls the same, as shown in Figure 2, the edges of some of the sheathing products would not have a stud behind them.
Without proper edge support, sheathing materials will not be able to be properly fastened, which will make finishing very difficult.
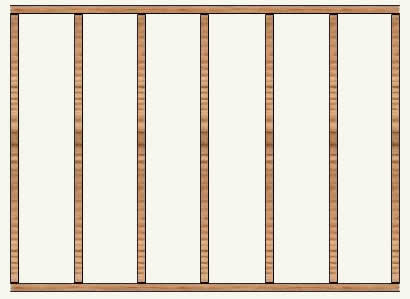
Figure 1 - Basic stud wall - 16 inch centers
This diagram shows the results of building all the stud walls the same.

Figure 2 - Stud walls configured in a square without support for sheathing
With all of the stud walls built in the same manner there is no support for the edges of the sheathing on the inside walls.
To correct this, two - 2 X 4 studs must be added at both ends of adjacent walls, as shown in Figure 3.
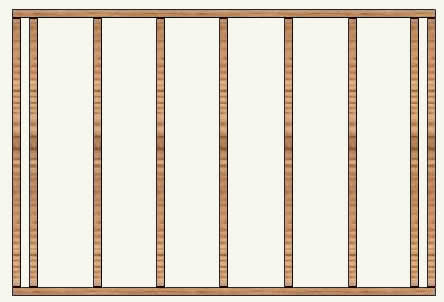
Figure 3 - Stud wall with extra studs to support sheathing
The resultant building structure would provide the necessary studs to support all of the sheathing on the interior and exterior of the building, as shown in Figure 4.
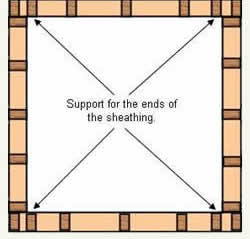
Figure 4 - Stud walls configured in a square with support for sheathing
This provides the necessary studs to support all of the sheathing on the interior and exterior of the building.
Once the stud walls are in position, an additional plate is nailed to the top of the stud walls with the ends of the plate overlapping the connecting wall, as shown in Figures 5, 6 and 7.

Figure 5 - Attaching upper plate to stud wall showing overlap
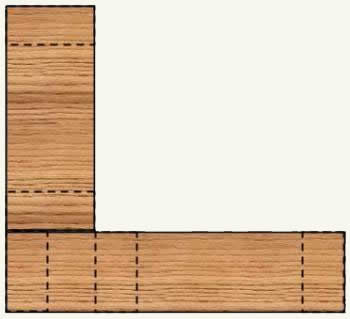
Figure 6 - Top view of stud walls at corners before adding top plate.